Sharp Photos Every Time With These Simple Steps …
Getting sharp photos is one of the first things you want to do when you get your camera, but it can be quite tricky at first and it might feel like you can’t quite get the hang of it. But there is a formula to it and once you get it, it is quite straight forward.
To get sharp photos, you need to keep your camera steady and stable. Set your aperture between f8 and f11, set the ISO to 100 and then change the shutter speed to get a good exposure. Focus on the subject and make sure the camera has focus properly with the beep and the green square in the viewfinder or the monitor on the back of your camera. If you are shooting handheld, you will have to follow the focal length shutter speed rule, but if you are using a tripod, you can use really long shutter speeds and still get sharp photos.
The first thing you need to do is get your camera stable and the best way to do this is to use a tripod. I know there might be some of you that don’t like tripods, if so, scroll down to the hand held section.
Tripods
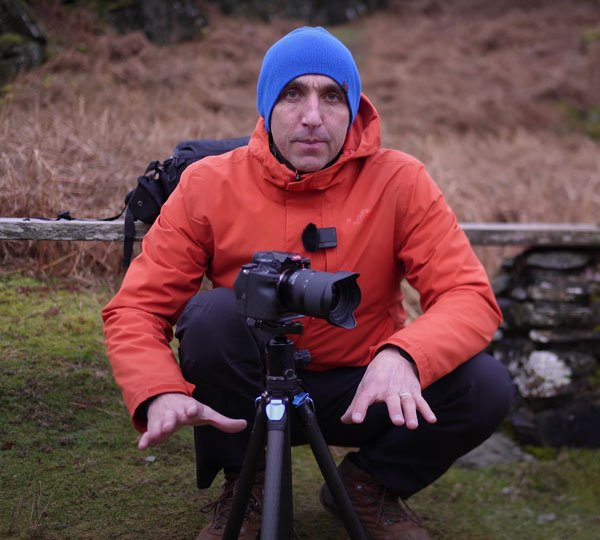
Once I have found a composition, if the air is still, I will get the tripod up to about head height so I am not hunched over it. It is much more comfortable on your back when your camera is in front of you instead of below you.
If it is windy, I will get the tripod down low, so the wind doesn’t buffet the tripod and camera around too much.
Dirty Lens?
Make sure your lens is clean. I will get the rocket blower and blow off any dust from the front element.
If I spot dust spots in any photos I take, I’ll blow off the back element and the sensor.
Imagine being in a car and there is dirt and dust on the front windscreen (windshield for my friends from across the pond!), you won’t be able to see as much as if the windscreen was clean, and this is the same with your camera. If the front element is dirty, it will give you increasingly soft images.
Which Camera Mode?
Camera modes can take away from your sharpness in an indirect manner. Let’s say you are shooting in aperture priority mode and you haven’t noticed how the light is dropping as your eyes adjust so well for it. If you don’t keep an eye on the shutter speed, all of a sudden, you might get some shots where the image starts to get blurry from your hands moving. This is where you have to be extra vigilant with your settings to keep on top of them.
I do normally shoot in aperture priority mode, but for this exercise where you are focussing on getting sharp photos, switch it across to manual mode. This will let you dial in your settings to suit, without the camera making any decisions for you.
Manual mode is great for this as you can really slow down the process and decide what settings you want.
DSLR Photography
If you shoot with a dslr, you need to turn off image stabilisation in the lens. This is because when you have it tuned on, it is expecting movement, but when there isn’t any, it can get confused giving you a softer photograph.
Mirrorless cameras don’t seem to have this problem as I found out in this test I did a while ago.
You also need to switch on mirror lock up. On some of the Nikon cameras, it is on the dial on the left hand shoulder of the camera as Mup. In the Canon cameras, it is in the menus as Mirror Lockup.
Focus
Most auto-focussing systems work really well these days. For big open landscapes, I will just focus on the furthest thing, and then make sure I get the beep and the green square.
If the subject is the most prominent thing in the frame, I will focus on that. For instance, in the video, I focussed on the dam as it was the biggest thing in my frame and that is what I wanted people to look at.
You can also use the magnify tool and manual focus if you are not 100% sure of your system. It is actually good to learn how to do this as you will become more familiar with your camera and how it works.
To do this, switch to manual focus, find the Focus Magnifier and punch in on the preview on the back of the camera. Then rock the focus dial back and forth, slowly until you find the most in focus point.
As I said, I prefer to autofocus when the light is good as I know I can get a sharp image with the lenses I have.
Camera Settings
Aperture
Every lens has a sweet-spot in its aperture range, and for the majority of lenses, this is about 2 stops or more below the maximum aperture.
I have found that most lenses do get noticeably sharper between f8 and f11, some of the better quality lenses all the way up to f16.
If you have a lens that has a max aperture of f4 or f5.6, then just close it down to f8-f11, depending on the conditions you have.
There is a common misconception in landscape photography that you should just shoot everything at f16 and be done with it and some lenses are sharp at f16, but if you don’t have anything in the foreground, you can get a much sharper photo when you do shoot between f8 and f11.
The main thing is to test your kit. Each lens will be slightly different and what works for one lens, might not work for others.
ISO
With your ISO, set it to 100, you can go above this, but just set it to 100 for now. This will normally give you the image with the least amount of noise. Noise is a bit like static on the old TVs. The more in tune the channel is, the cleaner the image as there is less of this noise and grain to take away from the sharpness.
Shutter speed
With shutter speed, if you are shooting landscapes, as long as there is nothing moving in your frame and you are shooting from a tripod, you can go as long as you need, but if something is moving, is it important or is it part of the subject?
If there is movement, you might have to increase your shutter speed to suit. But if you are shooting in the daytime, you should have enough light to cope with most things moving by readjusting the other two settings.
Another thing to think about with shutter speed is that if it is windy, you will have to get out of the wind, or if it is gusty, you might have to wait between gusts to get a sharp image. If this is not possible, again it is a case of raising your shutter speed to suit, but this will then compromise the other two settings, so try to find somewhere sheltered.
If you look at this shot above, the boathouse is nice and sharp but the tree was blowing in the wind and that movement has transfered into the long exposure. For this shot I wasn’t too worried, but if you want the tree to be crisp and sharp, you would have to raise the shutter speed and then change the other two settings to suit.
Once you have done all of the above, put the camera into the self timer mode, or use a shutter release cable, and take the shot.
Once you have taken it, you need to look back at it on the back of the camera, to see if you have a good sharp image. Zoom in to 100% and look around the photo. This will show you what you got in focus and what you missed.
If your photo is missing that sharpness, this is when you need to look at your settings and work out what you did wrong. I have a troubleshooting section a bit later on in this article for that scenario.
Quality of Light
One thing to think about is the quality of the light that you have in front of you. If it is a dark gloomy day, it is hard to get a good sharp image. You can get all of the other settings I’m talking about right, but if the light isn’t good, it will take away some of the sharpness.
Check out these two photos.
One was taken with good light and lots of contrast and the other was taken on a gloomy day. Now I know this is an extreme example, but this shows what good light can do to a scene. I’ve even been to locations where I’ve been patient and waited for the light to come through … and even looking on the back of the camera, you can see the difference in the quality of the two photos.
This is a big thing to understand. Sometimes, when you are doing everything right, there are some things that are out of your control that will cause the photo to be less sharp than you might like, and this is where you have to be persistent. If you go to a location and the conditions aren’t great, you might have to come back again and again until you get the shot you want.
However, when you do get good light and you are still getting soft photos, this is when these tips will give you more sharpness.
Handheld Photography
For handheld photography you don’t need to use the self timer, or a shutter release cable, or even the mirror lockup function, but if it is really windy, you might have to find somewhere to shelter from it, especially if the light is dropping.
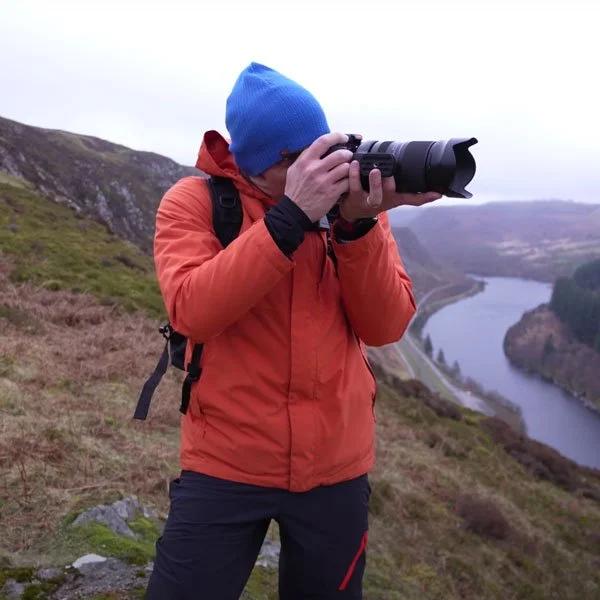
If there is a tree or lamp-post near by it is good to brace yourself against it. This will help you keep the camera steady.
If you don’t have this, bring your elbows in to the side of your body and use the viewfinder. This will mean the camera is locked in and steady.
You might have seen me in previous videos holding the camera out, but this is more to keep the pov view useable for you guys watching my videos … as holding the camera up to my eye really isn’t that watchable and entertaining.
Settings
Aperture
When it comes to settings, it is good to go through the process again, and if it is getting dark, you will have to compromise with certain settings, but for ISO and aperture, I follow the same rule.
I keep my aperture between f8 and f11 when the light is good enough
ISO
With the ISO levels, I try to keep it to 100, but if I need to I will raise it up to 640 without any worry, even up to 1000 when there is a lot of detail in the frame. With noise, it is all about signal to noise ratio. It gets a bit geeky, but if you want to learn more about this, click here.
Shutter Speed
As for the shutter speed, I match the shutter number with the focal length I am using.
If I am shooting at 50mm, I’ll keep it at 1/50 second or faster.
If I am shooting at 200mm, I’ll keep it to 1/200 or faster.
If I am shooting at 400mm, I’ll keep it at 1/400 or faster.
This is known as the focal length shutter speed rule.
If you are shooting with a crop sensor like the A6000 series, or the Canon 600D, 750D etc, then you need to multiply it by 1.5, so if you are shooting at 50mm, then use a 1/75 second shutter speed or faster.
Now this might get a little complicated, and there is another way if the light is dropping and you have to use slower and slower shutter speeds.
This is to put your camera into drive mode and fire off a series of photos. I did a video on this a while back and by the law of averages, one of those photos will more than likely be sharp if you have followed all of the other rules.
Also if it is really getting dark, you can put your camera down on a solid surface, brace it into place, put the self timer on and then take the shot like that. This is a great way to get sharp photos when it starts to get really dark.
As it does get darker, you will have to change your settings to suit.
I do sometimes shoot with wider apertures than stated here, but this is more about getting your photos sharp and understanding how to do this.
When the light is low, I will firstly slow my shutter speed down, then when I start to get blurry images from the movement of my hands, I will then open up my aperture and I will shoot landscapes with the aperture wide open. I have no problem with doing this at all, but this all depends on your tolerances and how you want your photo to come out.
Just know that as you shoot with wider apertures, the image will get softer, from the background or foreground going out of focus, to your subject just being a little softer from the imperfections in the lens.
If you break the shutter focal length rule, you might start to see blur in your photos from the movement of your hands. If this is the case, it is better to increase the iso, to be able to maintain the shutter speeds needed to get a sharp photo.
Any kind of blur will ruin your photo, whereas computers can correct a noisy photo.
Troubleshooting Your Blurry Photos
1 The subject is blurry but something else is sharp
If your photo isn’t sharp, have a look at the whole photo. Is there anything that IS sharp that isn’t the subject?
If this is the case, the camera has focussed on the wrong thing. It might be worth watching a video on focussing with your specific camera to see how you can refine it to get it to focus on what you want it to instead of what it thinks it should be focussing on.
In certain settings like the wide area focus mode, the camera focuses on the closest thing to it.
2 Everything is blurry
It might just be completely blurry and out of focus. When this happens, refocus, take another shot and then check it again. It’s best to know you have a good sharp photo before you come away from the location as there is nothing worse than getting home and finding that the best photos you got are not sharp … I have to admit that in the past I have done this …
3 Everything looks like it has been smeared in one direction
If everything is blurry as if the photo has been smeared slightly, then your shutter speed will probably be too low and the movement of your hands, or the wind on the tripod might be causing the camera to move and this movement has transferred into your frame
4 My camera won’t focus
If your camera is struggling to focus, find something at a similar distance with a decent edge or a big contrast in colours, focus on that and then take the shot … this is where you might have to focus, set it to manual focus and then take the shot … or another way is to set your camera to back button focussing. BBF is well worth knowing about and it will really change the way you shoot… for the better.
With this photo above, I saw this rainbow and wanted to get a shot of it, but the camera wasn’t focussing. Instead it was hunting and not latching on the anything in the frame.
I pointed the camera at the headland to my left, focussed on that point, switched it to manual focus and then retook the shot and it came out much better.
5 The Image looks hazy
Sometimes air quality or visibility will have an effect on how sharp your photo is. If you are at the end of a long telephoto lens, shooting at 150mm, 200mm, 400mm or longer, if it is a little hazy, this will take away from the sharpness.
However, this is a prime example of when sharpness is not everything in photography. It is good to know how to get a sharp image, but you don’t always need it to be crispy and sharp to be an effective and emotive photograph.
Now if you have followed all of these steps but you still notice that your foreground or background is out of focus but your main subject is ok, then you will need to focus stack.
Click on this video to learn all about that.


